
Once the PDM server installation completed, every workstation that touches vault data needs the PDM client. This guide, the second in our SOLIDWORKS PDM installation series, walks through installing the client on a single Windows workstation with the standalone client installer, choosing the right edition, client type and add-ins, and then using the View Setup wizard to attach a local vault view and log in for the first time.
Covered in this guide
- Preparing the media and locating the client installer
- Running the standalone PDM client installer
- Choosing the edition, client type and add-ins
- Attaching a local vault view with View Setup, and first login
Not covered
- Server, SQL Server and license server setup (See the SQL server guide)
- Installing Solidworks PDM Server (See the PDM server guide)
- Installing the client through the Installation Manager together with SOLIDWORKS CAD
- Creating vaults, users and permissions
1. Before you begin
1.1 Version and license rules to keep in mind
-
- Match the server release. The client must run the same major release (year) of SOLIDWORKS PDM as the server it connects to. Service packs may differ between machines
- Plan around your CAD version. As with the server, the PDM client can integrate with SOLIDWORKS CAD up to two major releases older than itself
- Choose the client type you are licensed for. The installer asks which client type to set up (CAD Editor, Contributor or Viewer). It must correspond to a client license your organization owns and has activated on the license server
1.2 Prerequisites checklist
-
- A Windows workstation with local administrator rights, meeting the published SOLIDWORKS and PDM system requirements for the release you are installing.
- A working PDM server with at least one vault already created on it. The server guide ends just before vault creation, so complete that step first.
- The archive server name (or IP address) and its port. The default port is 3030.
- Your PDM user name and password for the vault
- The installation media for the exact release the server runs. If it arrived as a compressed archive, extract it with a tool such as 7-Zip rather than the built-in Windows extractor.
- Network access from the workstation to the archive server and the SQL Server instance, with the necessary firewall exceptions in place on the server side.
- SOLIDWORKS and the Microsoft Office applications closed, if you plan to install their PDM add-ins.
1.3 Locate the client installer
The SOLIDWORKS installation media keeps each product in its own folder. Open the root of the media and find the SWPDMClient folder (Figure 1). Inside it, the file to launch is setup.exe (Figure 2). The remaining items in the folder, including the cabinet files and the SOLIDWORKS PDM Client installer package, are components the setup program calls on, so there is no need to open them individually.
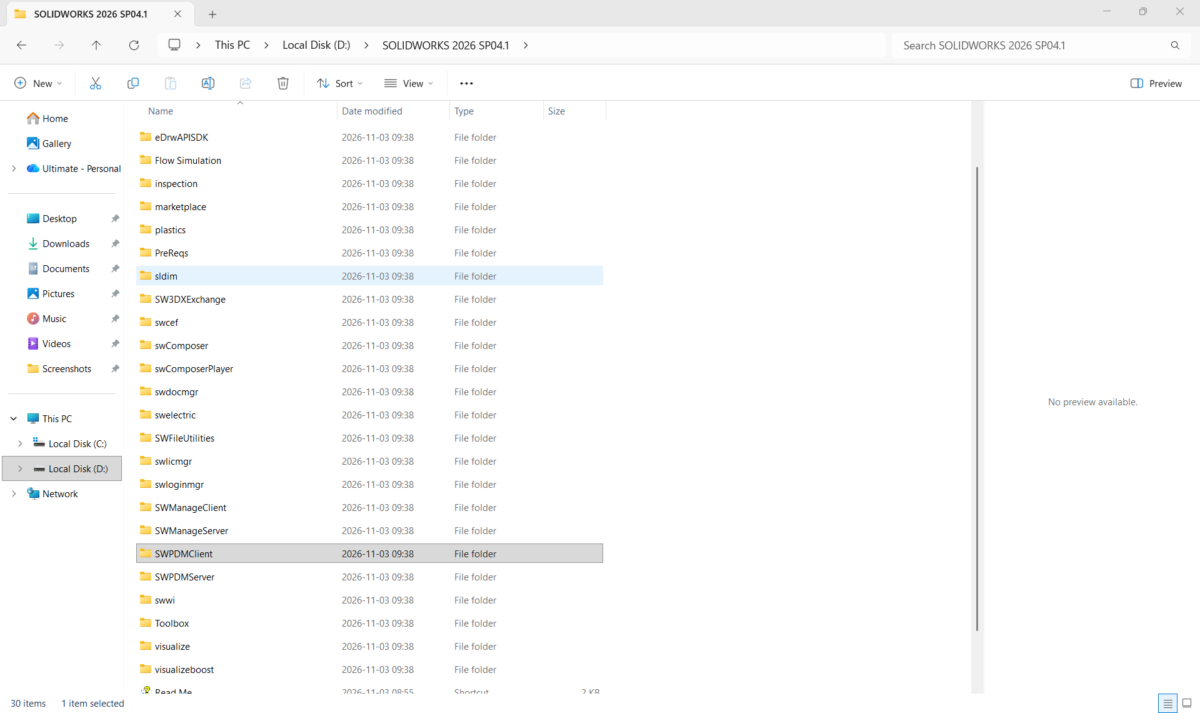
Figure 1: Installation media root with the SWPDMClient folder selected
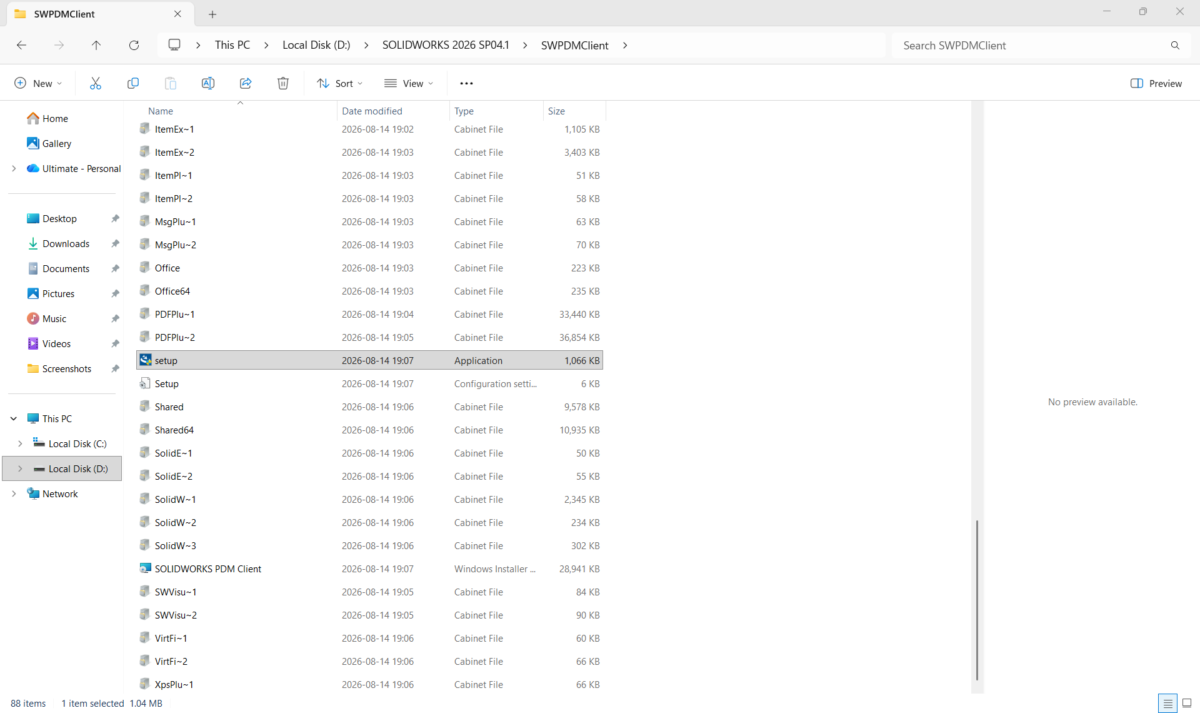
Figure 2: The setup.exe file inside the SWPDMClient folder
Note: This guide uses the standalone client installer, which suits installing on one workstation at a time. The client can also be added through the SOLIDWORKS Installation Manager (setup.exe in the media root) together with CAD, or pushed to many machines from an administrative image. Those routes are outside the scope of this guide, but the edition and client-type choices you make are the same.
2. Install the PDM client
2.1 Start the installer
-
- Right-click exe in the SWPDMClient folder and select Run as administrator. Approve the Windows security prompt if it appears. The installer first prepares the Windows Installer engine and the InstallShield Wizard (Figure 3).
- On the Welcome page, click Next (Figure 4).
- Read the License Agreement, select I accept the terms in the license agreement, and click Next (Figure 5).
- The Destination Folder defaults to C:Program FilesSOLIDWORKS PDM. Keep it unless your IT policy says otherwise, and click Next (Figure 6).
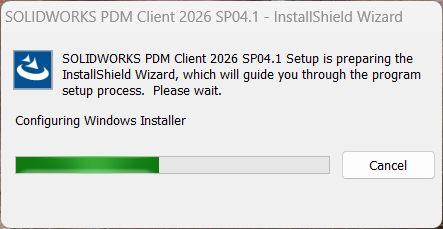
Figure 3: The installer preparing the InstallShield Wizard
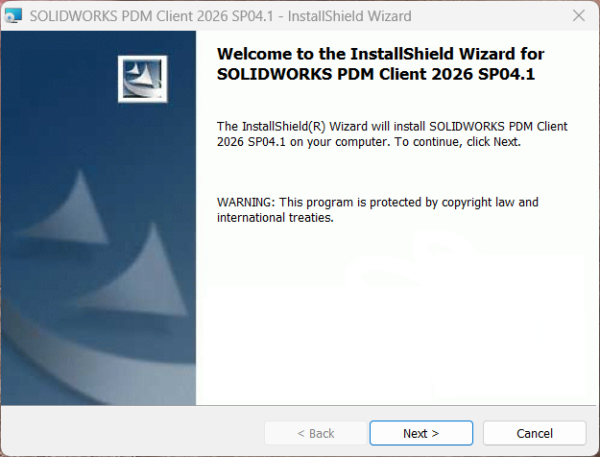
Figure 4: Welcome page of the InstallShield Wizard
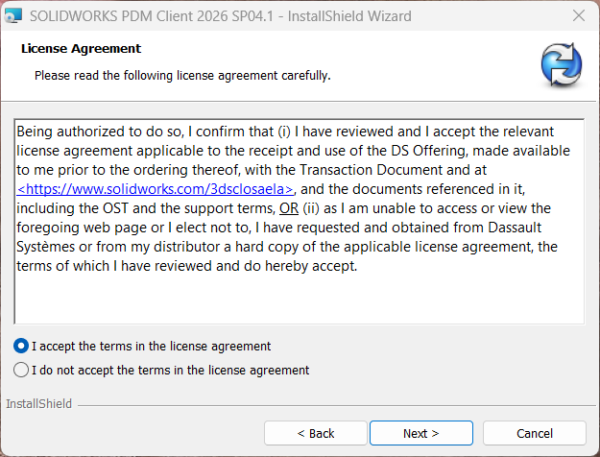
Figure 5: Accepting the license agreement
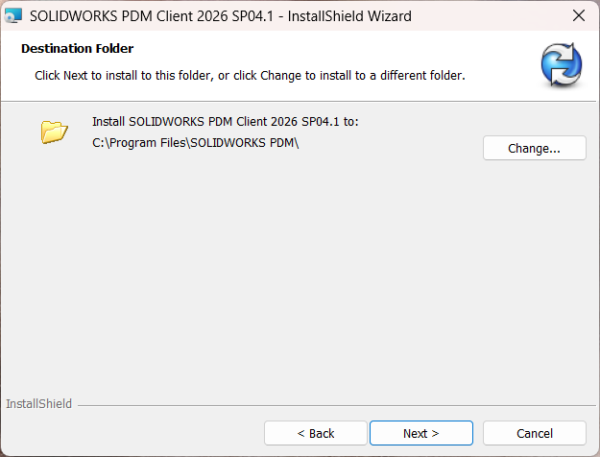
Figure 6: Destination folder for the client
2.2 Choose the edition, client type and add-ins
-
- Select PDM Product. Choose SOLIDWORKS PDM Professional (Figure 7). The Standard option is meant for workstations that will only ever connect to PDM Standard servers, whereas the Professional client can attach to either edition, which makes it the more flexible choice. Leave Customize unticked unless you need to pick individual components, then click Next.
- Choose Product Type. Select the client type that matches your license (Figure 8) and click Next. The table below summarises the three options.
- Select Add-Ins. Tick the add-ins for applications that are installed on this machine (Figure 9). In our example, Microsoft Office Integration and SOLIDWORKS are selected, while DraftSight and SOLIDWORKS Electrical are not. Click Next
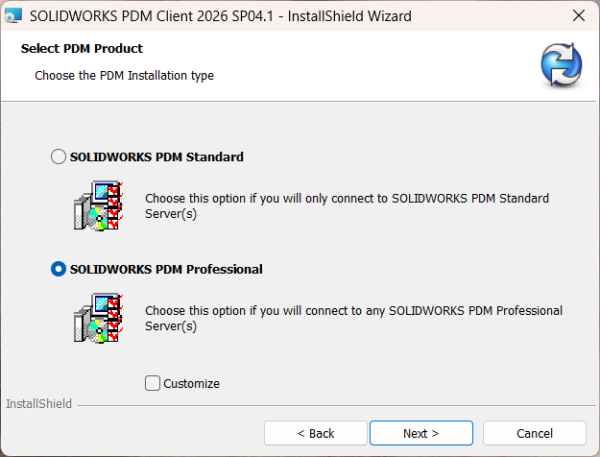
Figure 7: Selecting the PDM product
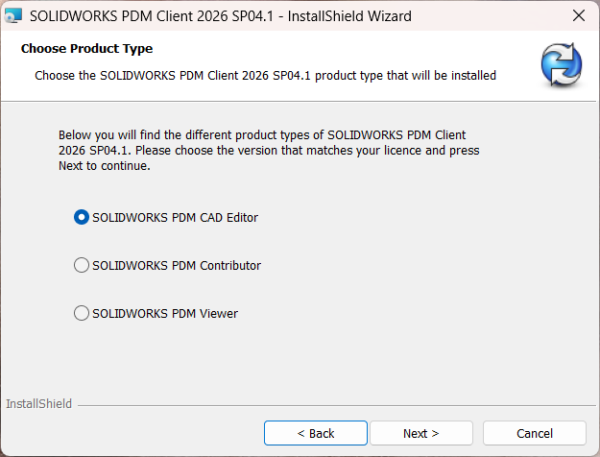
Figure 8: Choosing the client product type
| Client type | Best suited to | What it gives you |
| CAD Editor | Designers and engineers who work in SOLIDWORKS every day | Full file management plus the PDM add-in inside the CAD application |
| Contributor | Colleagues who handle vault files but do not need the CAD add-in | Check-in, check-out and editing from File Explorer, without the CAD add-in |
| Viewer | Managers, reviewers and anyone who only needs to look | Read-only access to the vault, with the ability to take part in workflow approvals where permissions allow |
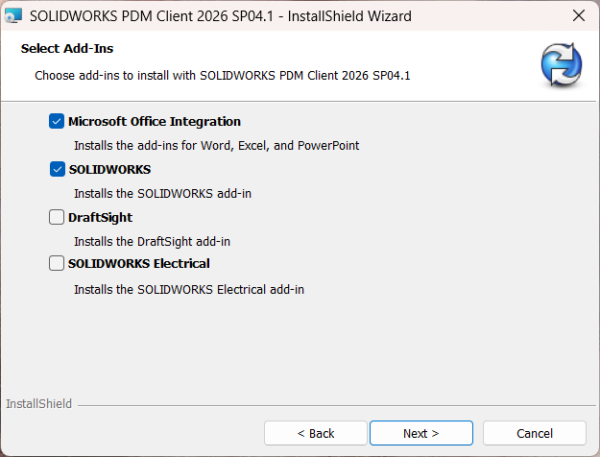
Figure 9: Selecting the add-ins to install
Tip: Confirm the client type with whoever manages your serial numbers before you roll out to several machines. Installing a type your organization has no license for will only cause problems at first login
2.3 Run the installation
-
- On the Ready to Install the Program page, click Install (Figure 10). Use Back if you need to revisit any choice.
- Wait while the wizard copies and registers the files (Figure 11). The page warns that this may take several minutes.
- When the InstallShield Wizard Completed page appears, click Finish (Figure 12). If Windows asks for a restart, do it before moving on.
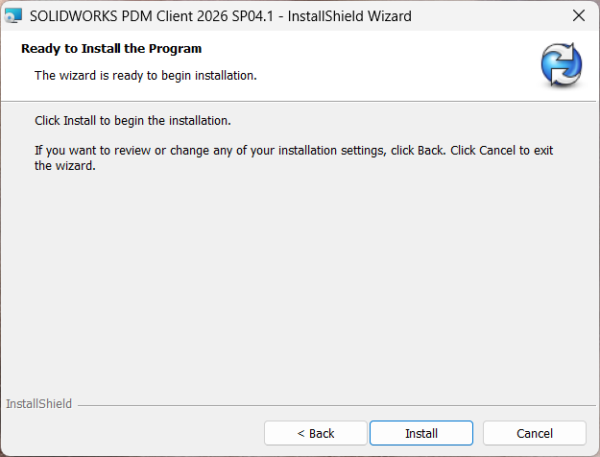
Figure 10: Ready to install
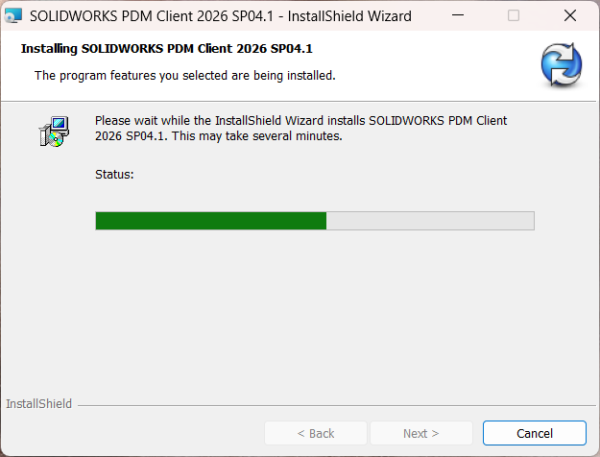
Figure 11: Installation in progress
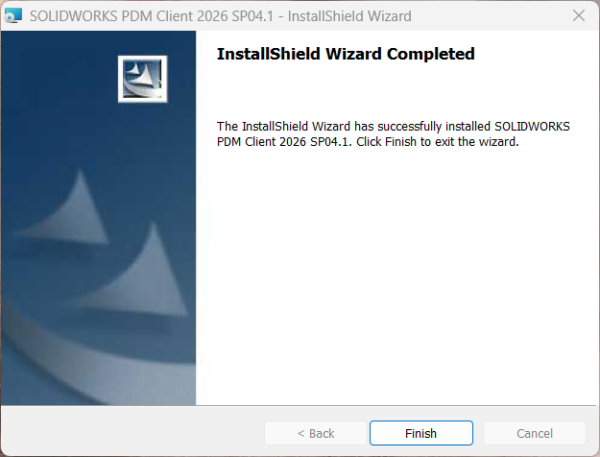
Figure 12: Installation completed
3. Attach a local vault view with View Setup
Installing the client does not yet give anyone access to a vault. Each user needs a vault view, a local folder through which PDM presents the vault’s files. The View Setup wizard, installed together with the client, creates it
3.1 Start the wizard
-
- Open the Windows Start menu, expand the SOLIDWORKS PDM folder and select View Setup.
- On the Welcome page, read the introduction and click Next (Figure 13).
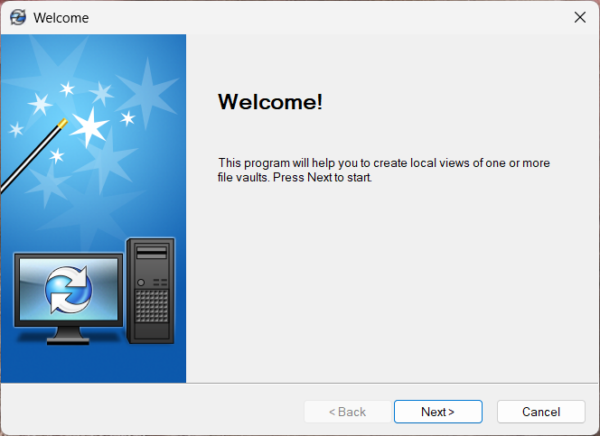
Figure 13: View Setup wizard – welcome page
3.2 Connect to the archive server
-
- On a new workstation the Select archive server(s) list is empty (Figure 14). Click Add.
- In the Add server manually dialog, type the archive server name and confirm the port, which defaults to 3030 (Figure 15). Click OK.
- If Windows asks for credentials, enter a Windows account that has Attach access on the archive server. This prompt is for a Windows account, not a PDM user.
- Tick the check box next to the server. Its status should read Connected (Figure 16). Click Next.
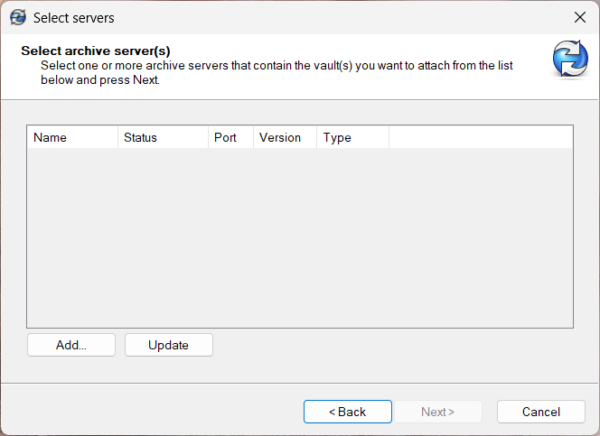
Figure 14: No archive servers listed yet
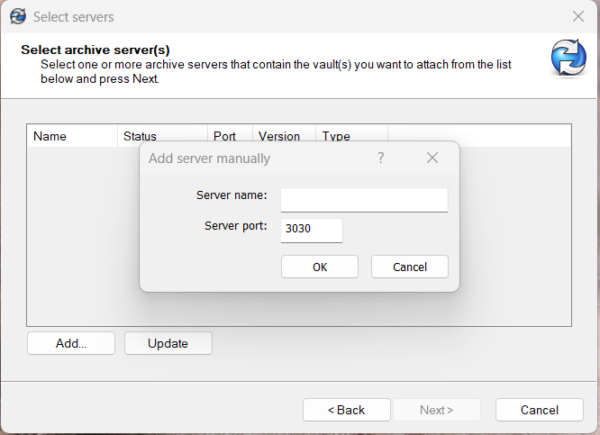
Figure 15: Adding the archive server manually
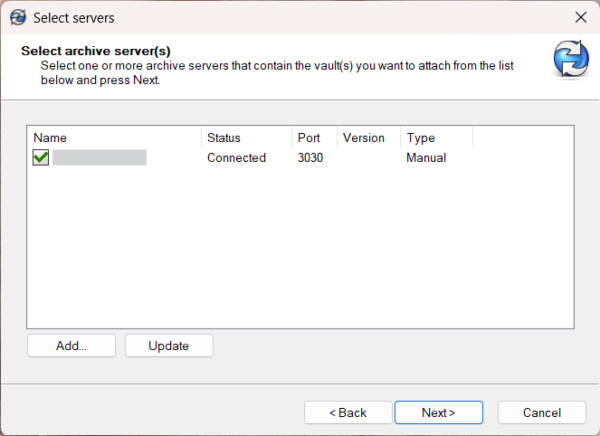
Figure 16: Archive server added and connected
Note: If the status does not show Connected, check that the workstation can resolve and reach the server name, and that port 3030 is not blocked between the two machines. When name resolution is the problem, a hosts-file entry or the server’s IP address is a quick way to confirm the diagnosis
3.3 Select the vaults and the view location
-
- On the Select vault(s) page, tick every vault you want a local view of (Figure 17), then click Next. Only vaults hosted on the servers you selected appear here.
- On Select location, choose where the views will be created (Figure 18). The default is the root of the C: drive. If your account cannot write there, click Browse and pick another folder.
- Under Attach type, choose who can use the view. Only for me registers it for the current Windows user only. For all users on this computer makes it available to anyone who signs in to the machine and requires local administrator rights. Click Next.
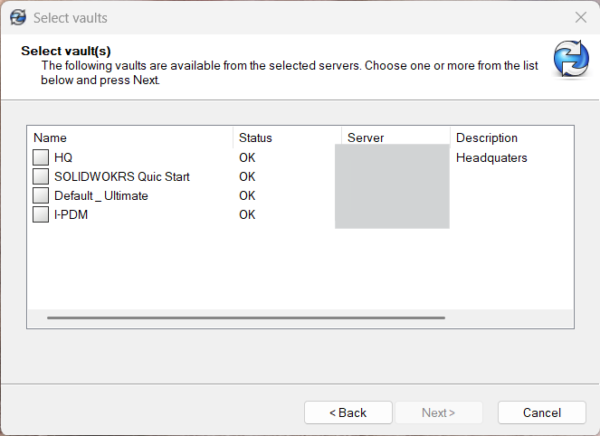
Figure 17: Choosing the vaults to attach
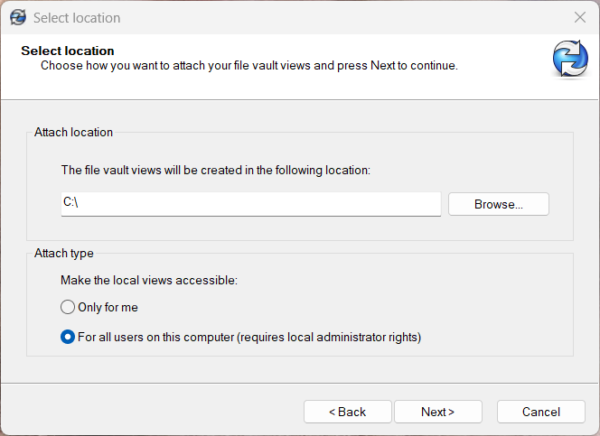
Figure 18: Attach location and attach type
3.4 Review and finish
-
- On Review actions, check that each vault is listed with the action Create local view and the status Ready (Figure 19). If a row shows a problem, select it and use Show Error, correct the cause, and go back if needed. Then click Finish.
- When the Completed! page shows the status Completed (Figure 20), click Close
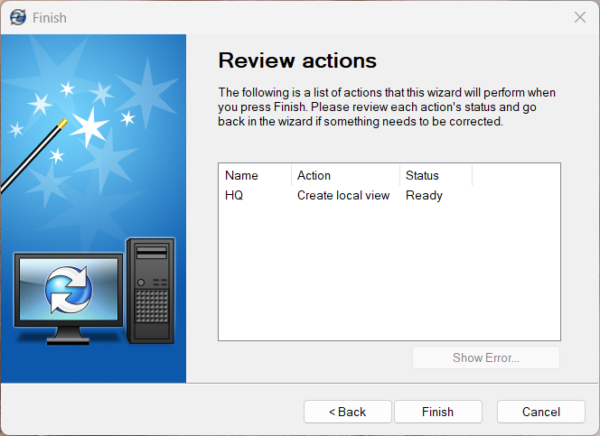
Figure 19: Review actions before creating the view
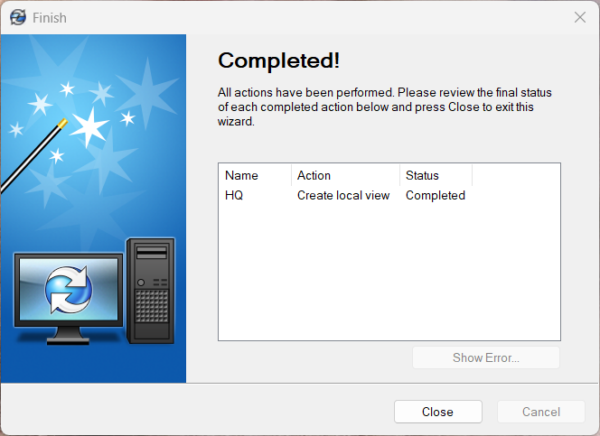
Figure 20: Local view created successfully
Good practice: Attach only the vaults a person actually works in. Extra views add clutter to File Explorer, and each one can be added later by running View Setup again
4. Log in and check the vault view
- Open File Explorer. The vault view appears as a folder named after the vault, at the location you chose, with the PDM icon (Figure 21).
- Open the folder. The PDM login dialog appears (Figure 22). Enter your PDM user name and password and click Log In. Our example uses the built-in admin account; everyday users should sign in with their own accounts.
- Once logged in, the vault contents appear inside File Explorer, together with the PDM toolbar, the extra columns, and the Preview, Data Card, Version, Bill of Materials, Contains and Where Used tabs (Figure 23).
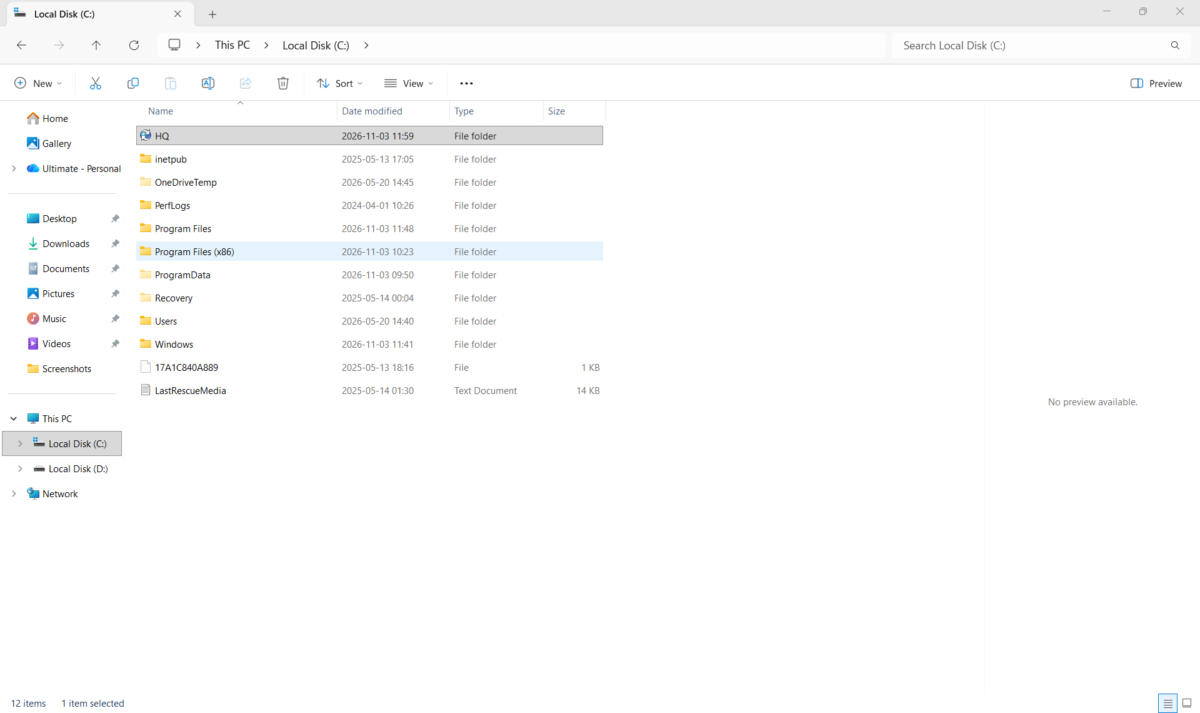
Figure 21: The vault view folder on the C: drive
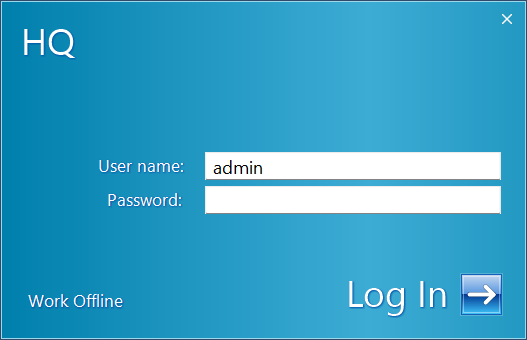
Figure 22: Logging in to the vault
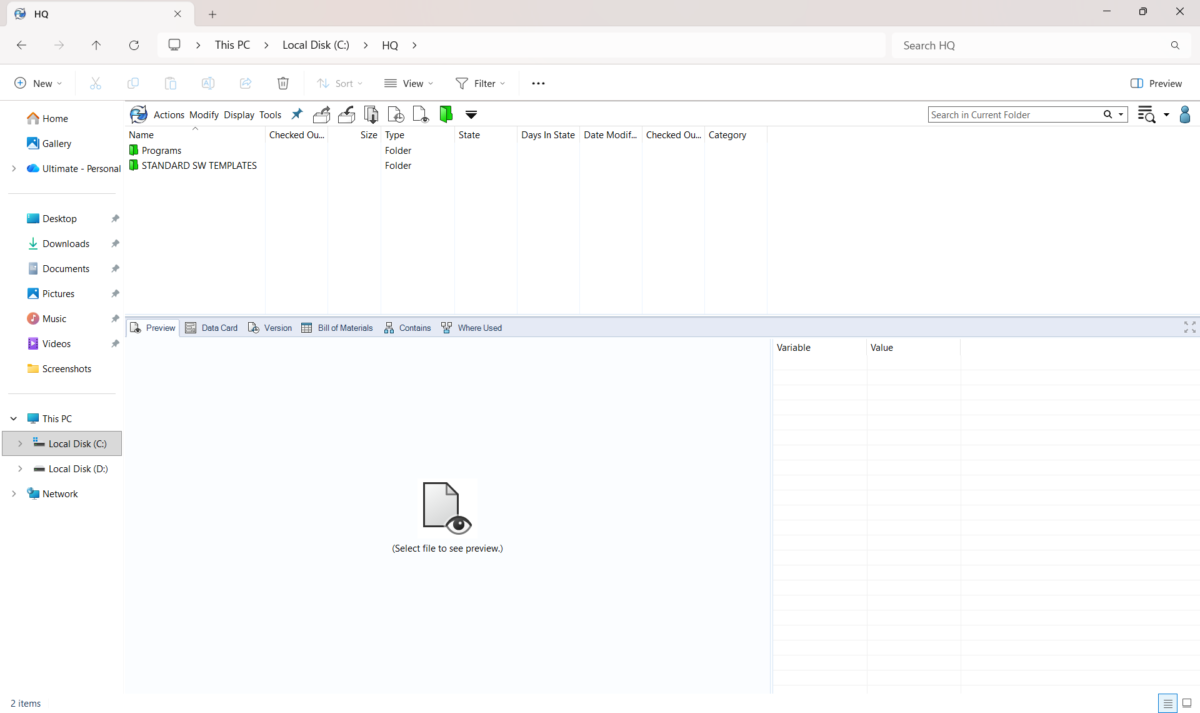
Figure 23: The vault contents in File Explorer
Keep it safe: The built-in admin account controls the whole vault. Keep its password in your organization’s password manager, and create named accounts for regular users.
5. Quick verification and next steps
- The PDM client installed without errors, with the edition, client type and add-ins you intended.
- The archive server was added, shows as Connected, and the vault you need appears in the vault list.
- The local vault view exists at the chosen location and opens in File Explorer after you log in.
- If SOLIDWORKS CAD is installed on this machine, open it and confirm the PDM add-in is available in the add-ins list
With these checks passed, the workstation is ready for everyday work: checking files in and out, browsing versions and taking part in workflows. Repeat the same steps on each additional workstation, or move to an administrative image once the number of machines makes that worthwhile.
Contributor: Naveen Kumar Ravi | Elite Application Engineer
Install with confidence & Design with precision
