The following instructions are for SOLIDWORKS products that will be installed directly on the computer in a standalone workstation environment.
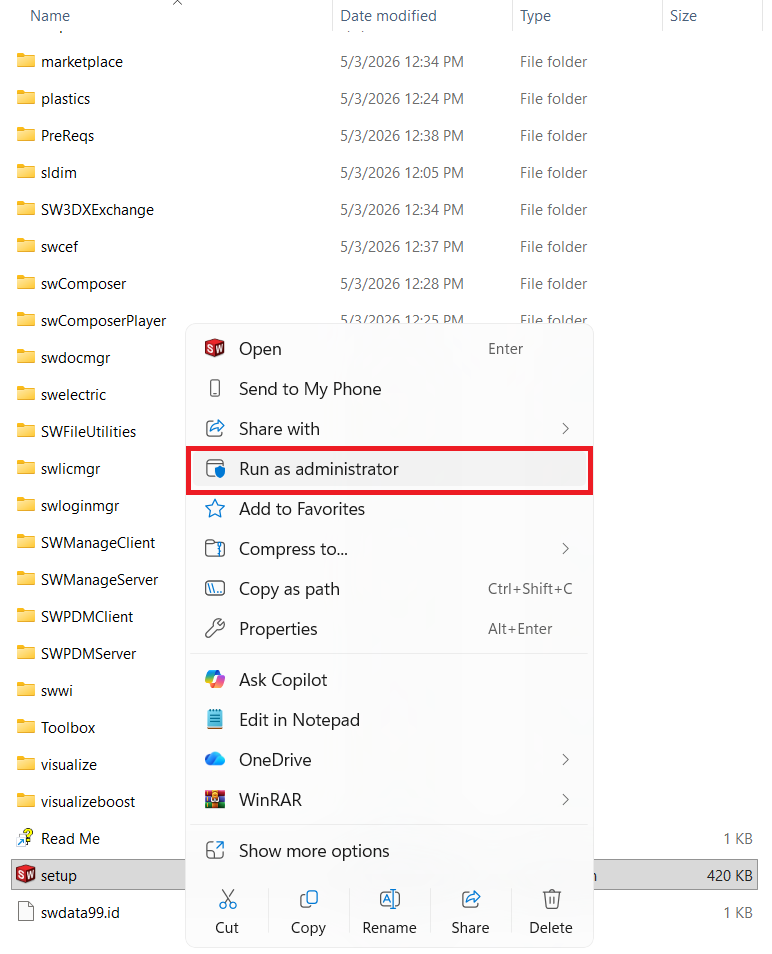
- Launch the SOLIDWORKS Installation Manager by double-clicking on setup.exe as “Run as administrator” in the root download folder.
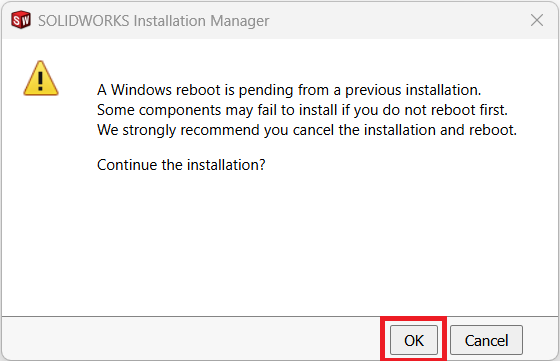
2. Click “Ok” to continue.
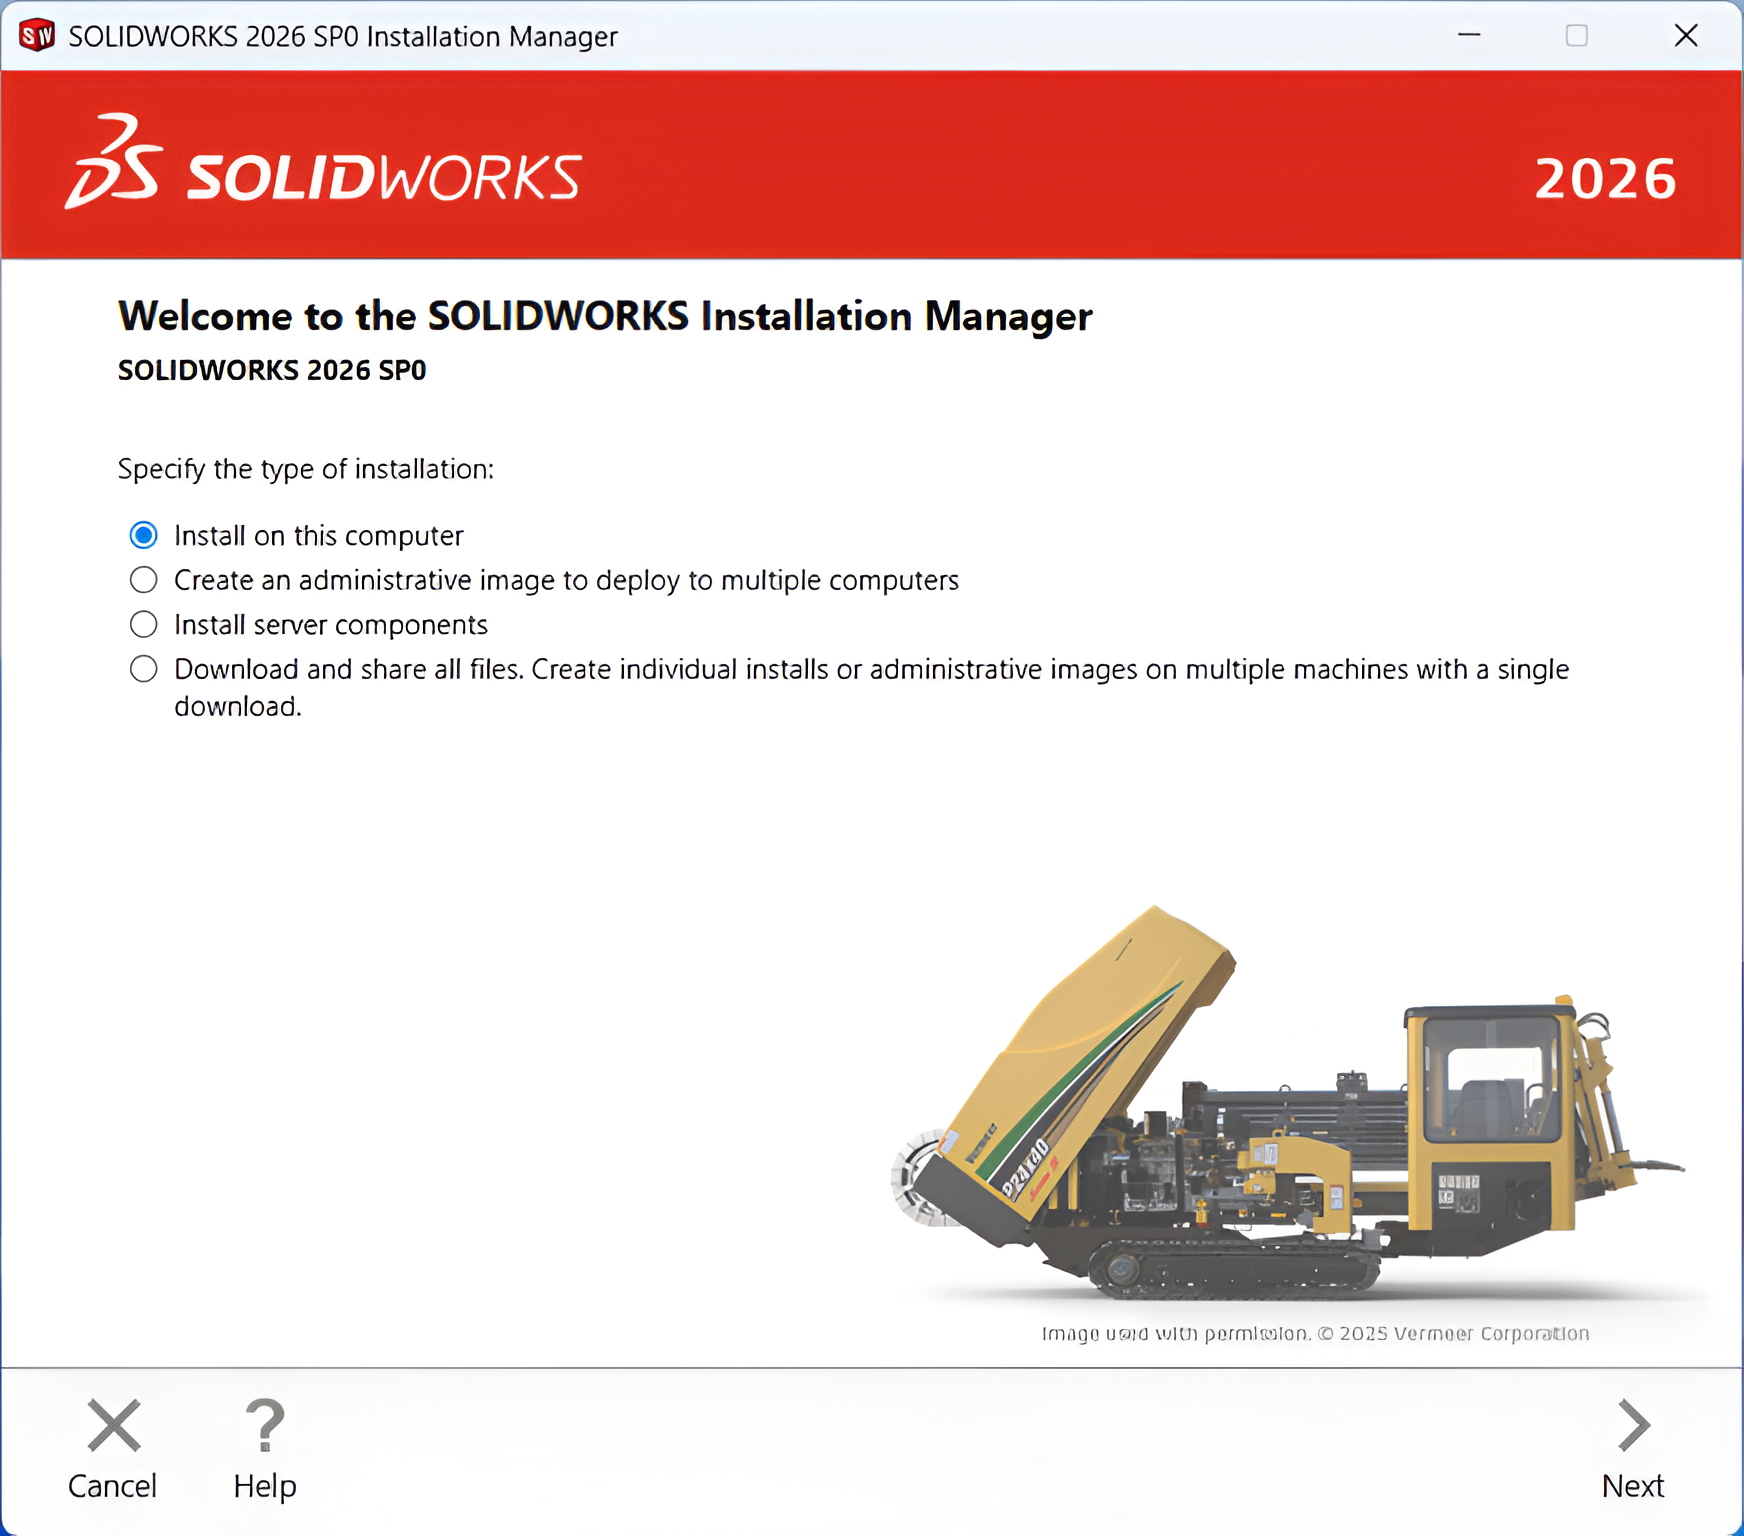
3. Select the option “Install on this computer” and click Next.
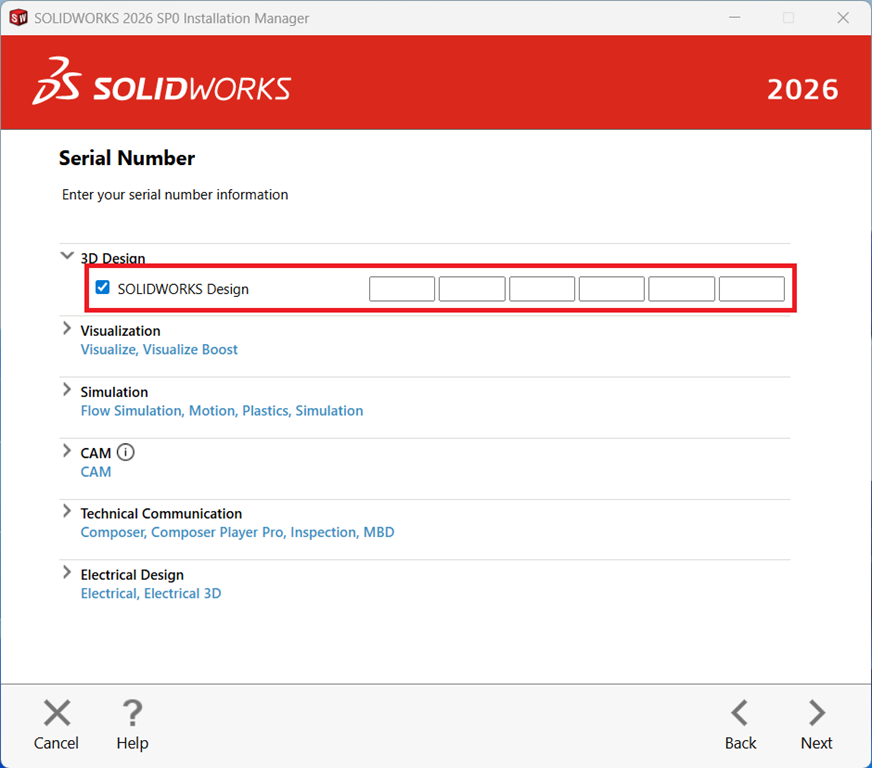
4. Select the products you have the license for and enter the respective license serial number(s), then click Next.
5.a.The installation Manager will check your serial number and updates, online and proceed forward.
5.b.If you do not have an internet connection, click “Cancel” to move forward.
6. Select the necessary option and click “Next” to proceed
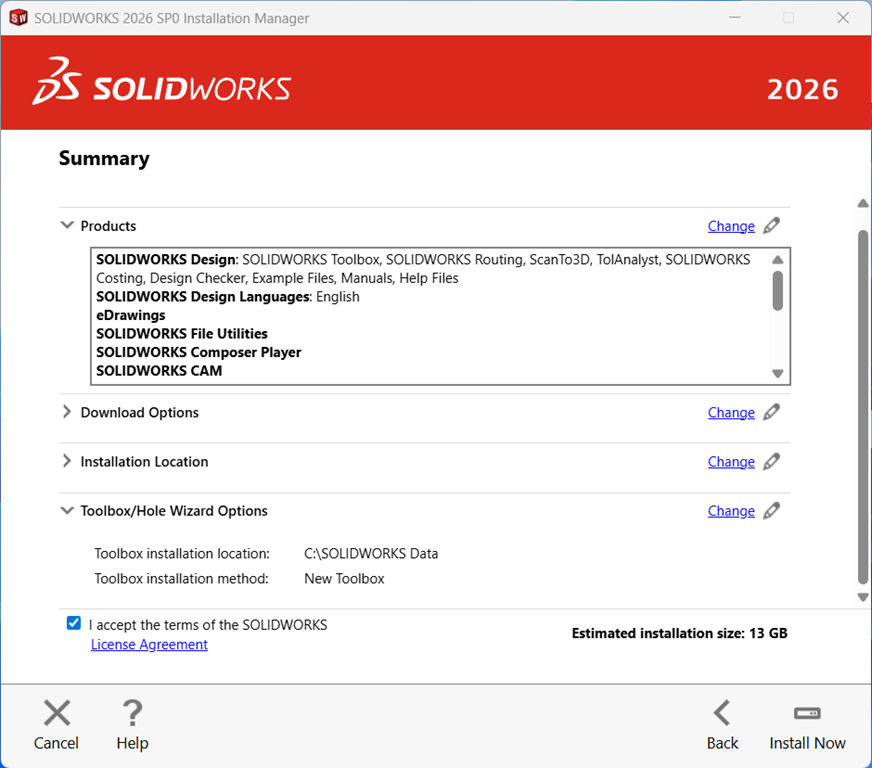
7. Now you will see the summary of what will be installed. On this page you can change things like Products to install, Download options, where to install SOLIDWORKS (default is best here), and Toolbox settings.
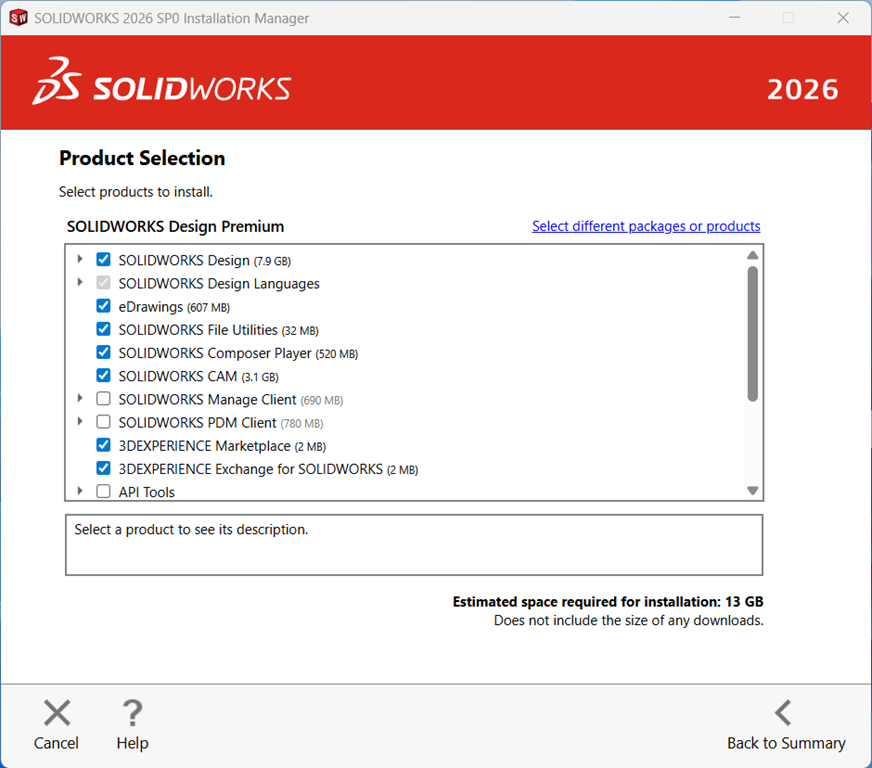
8. Select the SOLIDWORKS software and features to install by expanding each selection group and checking the boxes, then click Back to Summary.
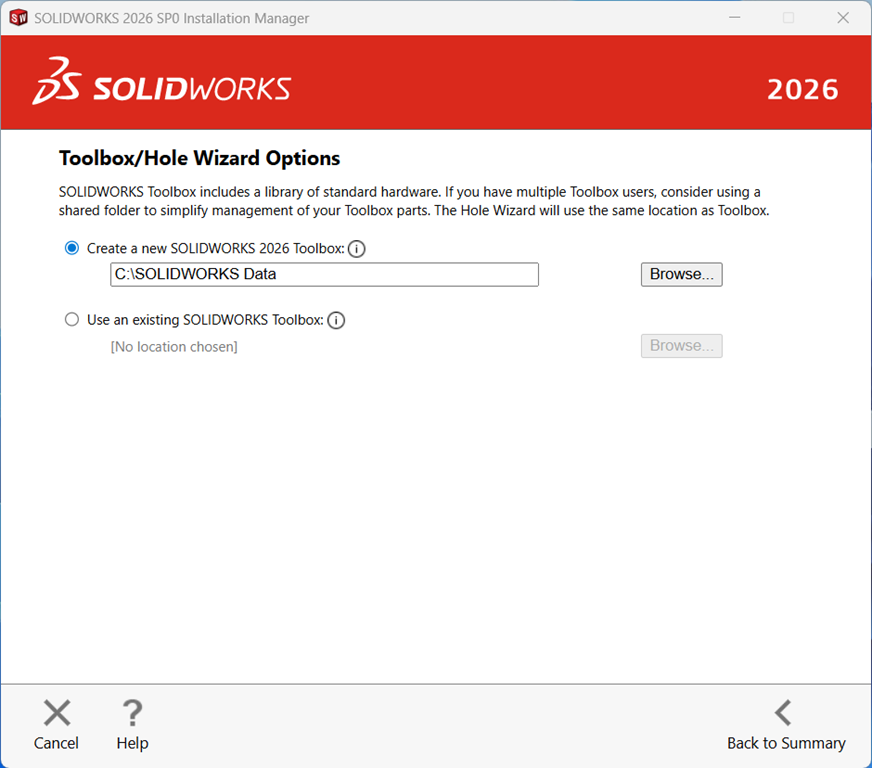
9. To change the Toolbox settings, click Toolbox/Hole Wizard Options Change and you will see the image below. When installing a new installation of SOLIDWORKS alongside an older year version, you can re-name the new toolbox C:\SOLIDWORKS Data 2026 to differentiate it from the older year versions installed on your computer. For upgrade installations you can choose to create a new one, upgrade an existing Toolbox or copy an existing toolbox and upgrade that copy.
10. Click back to summary, accept the terms of the SOLIDWORKS License Agreement, then click Download and Install or Install Now if you already have all the installation files.

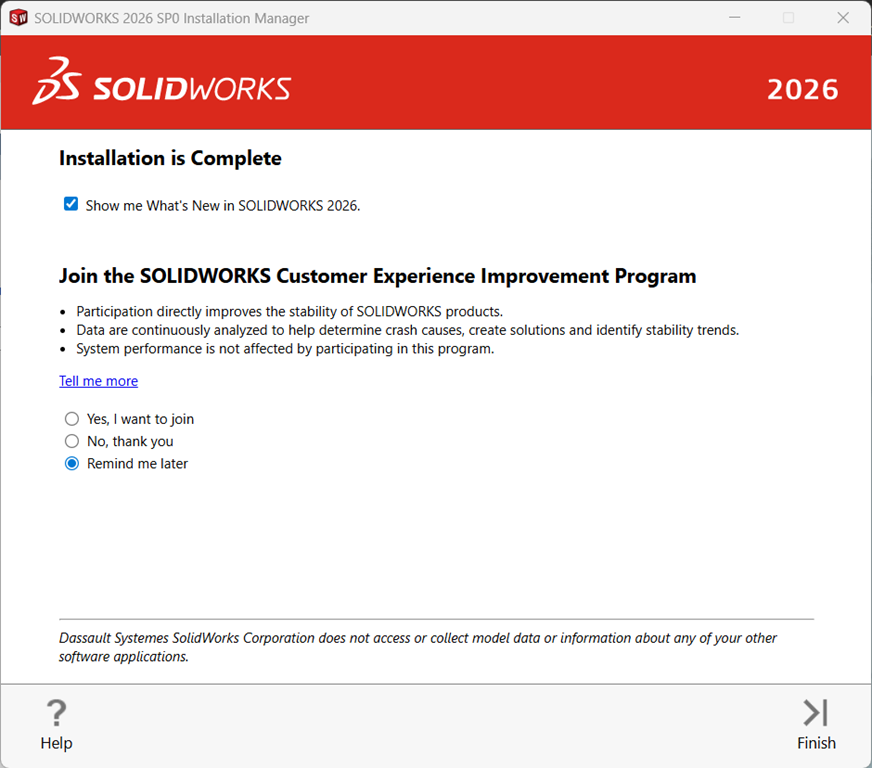
11. The installation manager will complete the installation. click “Finish”.